Some themes come with the ability to create a slider on the homepage, thanks to the Slider custom post type. This slider can be configured with as many slides as you want, and is very flexible in terms of customization.
To use the homepage slider, you will first need to install the CPO Content Types plugin. This plugin will give you the ability to create, edit, and manage the slider. Be aware that not all themes do support the use of slides.
How The Homepage Slider Works
In a theme that makes use of the homepage slider, you will find a section named Slides in the WordPress dashboard. Here, you can add any number of posts, where each one represents a single slide.
Each slide is composed of various elements, which corresponds to the title, content, and others elements of the post you have created:
Slide Title. Displayed in the slide caption. This element corresponds to the title of the post you have created, and certain themes may choose to display it or not. It is often styled differently from the content of the slide.
Slide Content. Shown enclosed inside the slide caption, and corresponds to the content of the post. Here, you can use both HTML as well as shortcodes, and this field is often used as the main body of the slide.
Background Image. Displayed as the background of the slide. This image can be set using the Featured Image functionality of the post, located at the bottom right are of the edit screen. The background image will always fill all the available space in the slide, scaling up and down as needed.
Call To Action Button. Each slide can display a button that will take the user to a specific location. There are two fields that let you set the text of the button, and the destination URL.
Foreground Image. Besides the background image, you can also set a foreground image using the respective field. This image will change locations depending on which slide layout you have chosen, and will be restricted to around half the slide’s width. Here, you can use transparent images.

Here, you can see an example slider making use of all five elements: the title, content, button link, background image, and foreground image.
Setting The Background Image
The background image works by using the Featured Image function that WordPress posts have.To add one go to your dashboard > Slides > Add new or edit an existing slide > scroll a bit down and on your right hand side of the screen you will have ‘Featured Image‘ > add the image there.
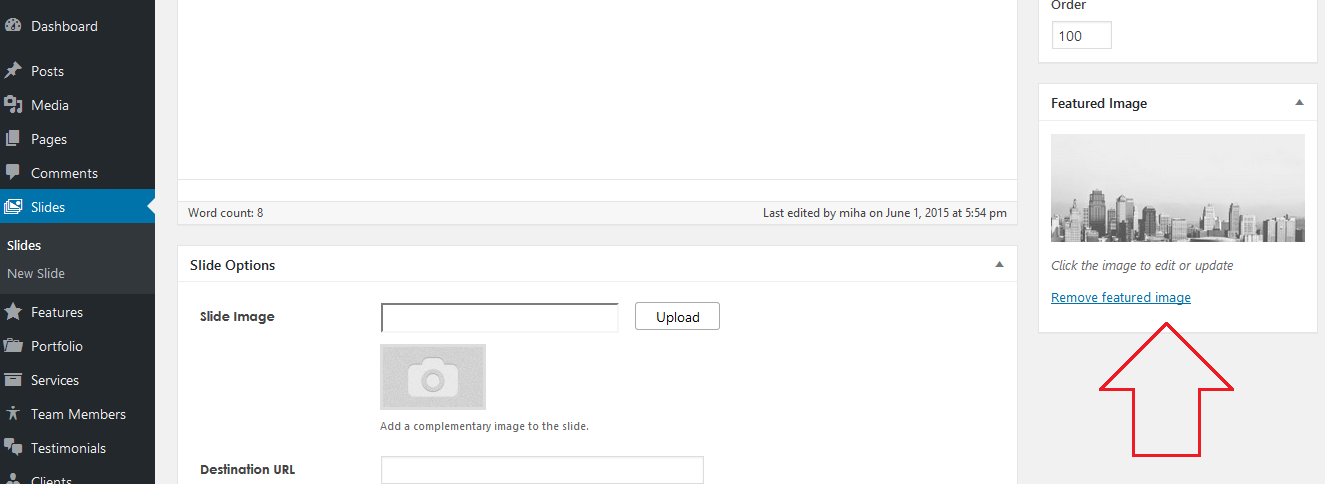
Simply put, the image you choose as the featured image will be used as the background of the slide. The image will always scale up or down to fill the available space in the slide, leaving no gaps.
The recommended size for the background image varies depending on the layout of the theme. Normally, it is best to use images that are a little over 1200 pixels wide, and as tall as you have configured your homepage slider to be.
Adding a Call To Action Button
A slide may have a button link added right after the content. Button links are a great way of making your links more clickable, and provide a clear path for your users to follow.
To add a button link, you need to specify both the URL of the button, as well as the text.
Adding a Foreground Image
Each slide can also have a foreground image, configured using a dedicated field located beneath the visual editor in the slide edit screen. This image will be positioned to the opposite side of the slide content, or below the content if you can chosen the centered layout for the slide.
To add a foreground image go to your dashboard > Slides > Add new or edit an existing slide > scroll a bit down and under Slide Options you will see the field for Slide Image > and enter here the image’s URL and then save.
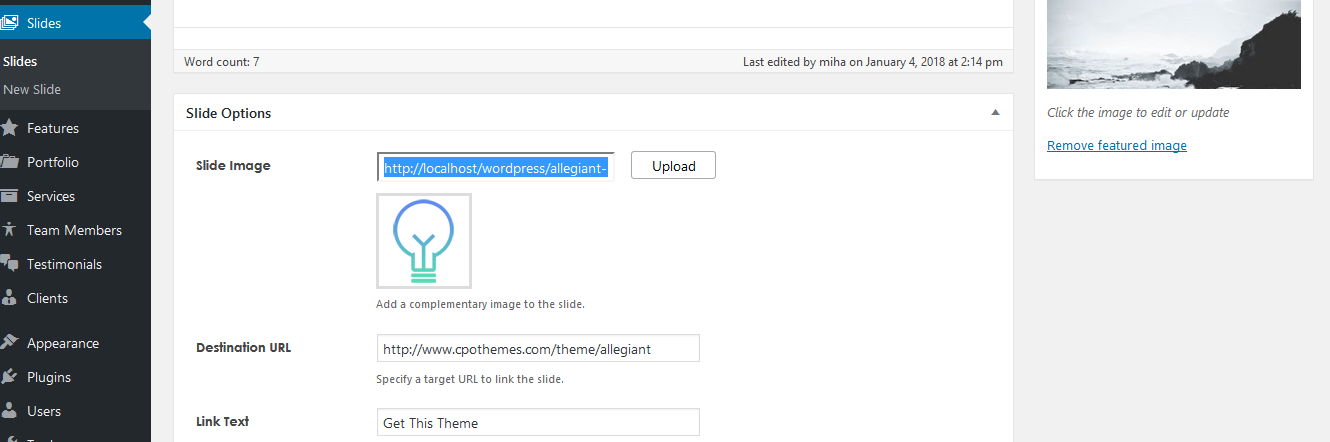
If you do not know where you find an image’s URL go to your dashboard > Media > Media Library > click on the image you want and on the right hand side of the screen you will see URL > copy it from here and paste it in the field for Slide image as I explained above.

Foreground images can be transparent PNG files, and they will be anchored to the top of the slide. You can use tall images to have them clip the bottom of the slider, to achieve special visual effects.
Additionally, you may use a YouTube URL to add a video instead of an image.
Changing The Height, Transition Speed And Interval
You can configure the height, transition speed, and time between transitions of the slider. These settings are located in the Customizer, within the Layout > Slider tab.
The slider will always have the same height for all slides, as you have specified in the settings. Be aware that having a narrow slider may clip the contents of some slides, although you can intentionally do this to achieve certain visual effects.
Slide Styling Options
Slides can have different layouts, as well as color palettes.
Each slide has up to three different available layouts: left, centered, and right. This will position the contents of the slide to either side of the screen, or center it right in the middle. When using a foreground image, it will always be placed on the opposite side of the slide content, or below the content when using the centered layout.
If you use a particularly dark or bright image, you can also change the color palette of the slide content to either dark or light. The dark palette will make the text white and is best used on dark backgrounds, while the light palette will leave text as normal and is best for light backgrounds.